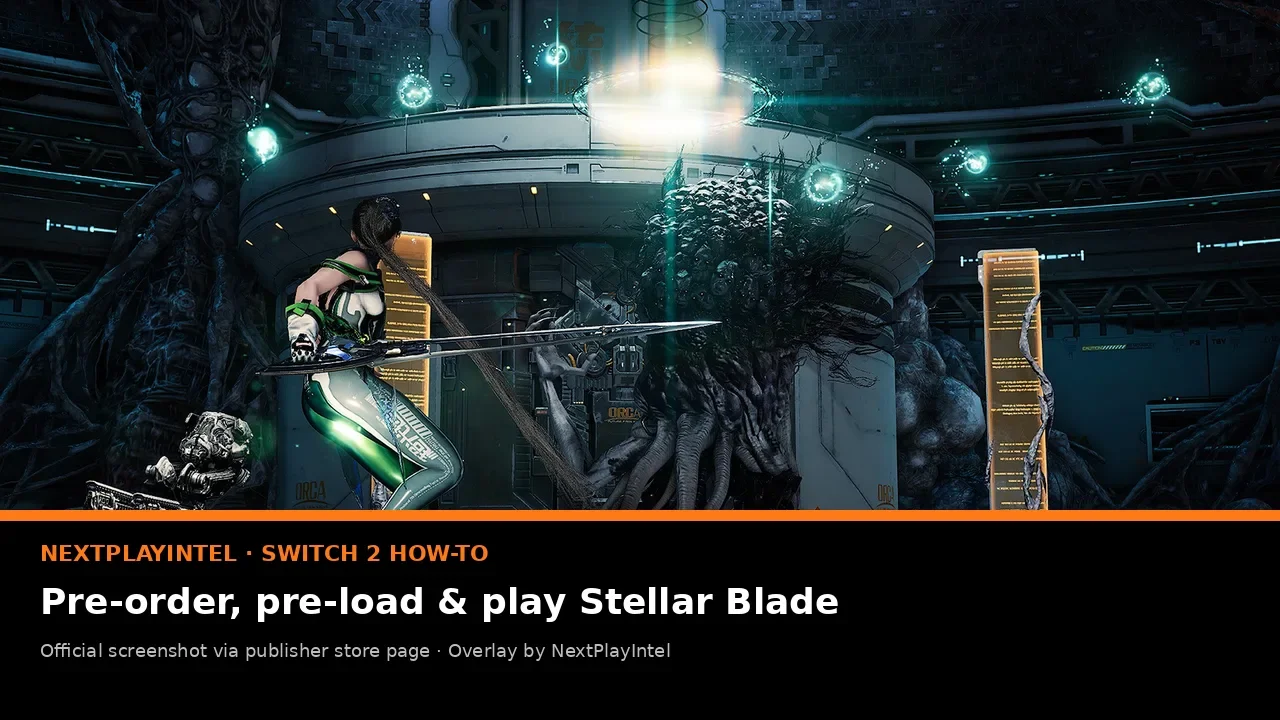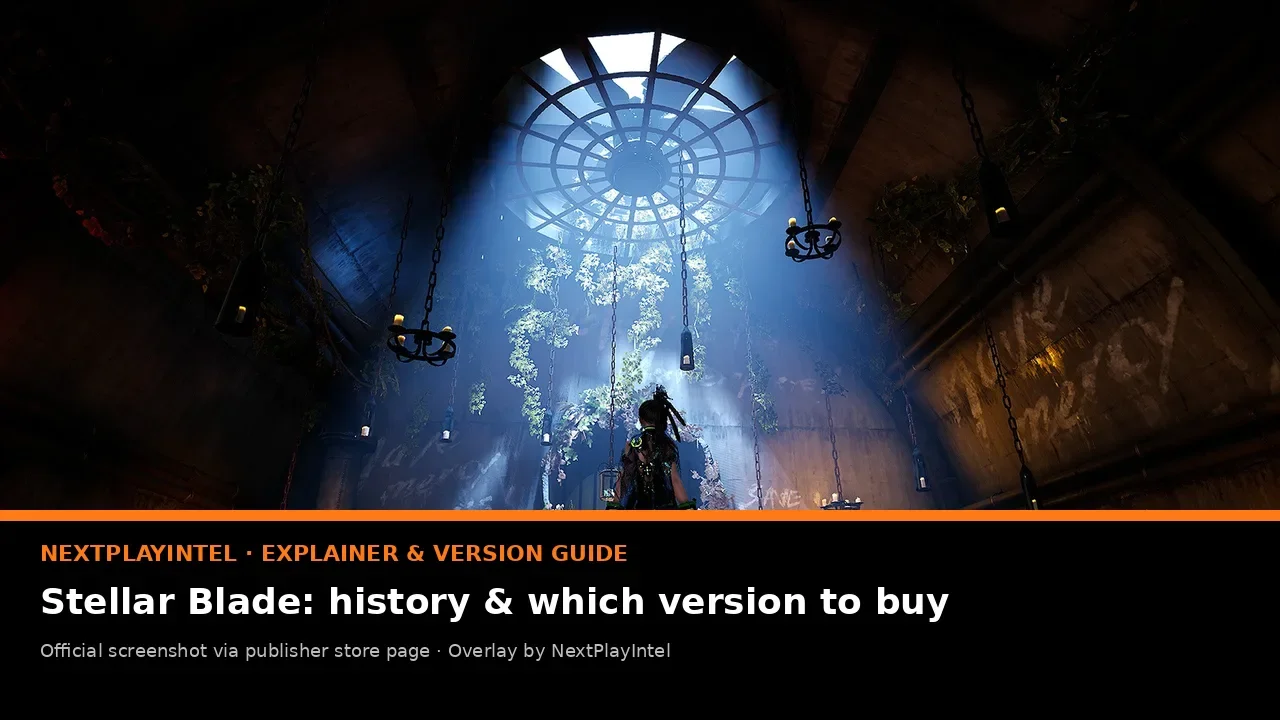

Quick Answer: Summary of Steps
- Clear Eidos 7. 7th Airborne Squad and Scavenger Adam.
- Reach Xion. The hub city for upgrades and side quests.
- Explore the Wasteland and Altess Levoire. Recover the second Hyper Cell.
- Matrix 11, then the Great Desert. Alpha Signal to Orcal's Testimony.
- Finish side quests before the final missions. The game warns you before the point of no return.
Prerequisites & Materials Needed
Required tools & items
- Stellar Blade on PS5, PC or Switch 2 — Switch 2 from 5 November 2026
- Upgraded Beta and Burst skills — for late bosses
Estimated time
- Preparation: None
- Execution: Varies widely with side quests
Step-by-Step Instructions
Step 1: Clear Eidos 7 fully
It is the biggest early area and holds many Body Cores and Exospines.
- Use Supply Camps to rest and upgrade.
- Scan often for crates and passcodes.
How you know it worked: Scavenger Adam ends after the Alpha Naytiba Gigas fight.
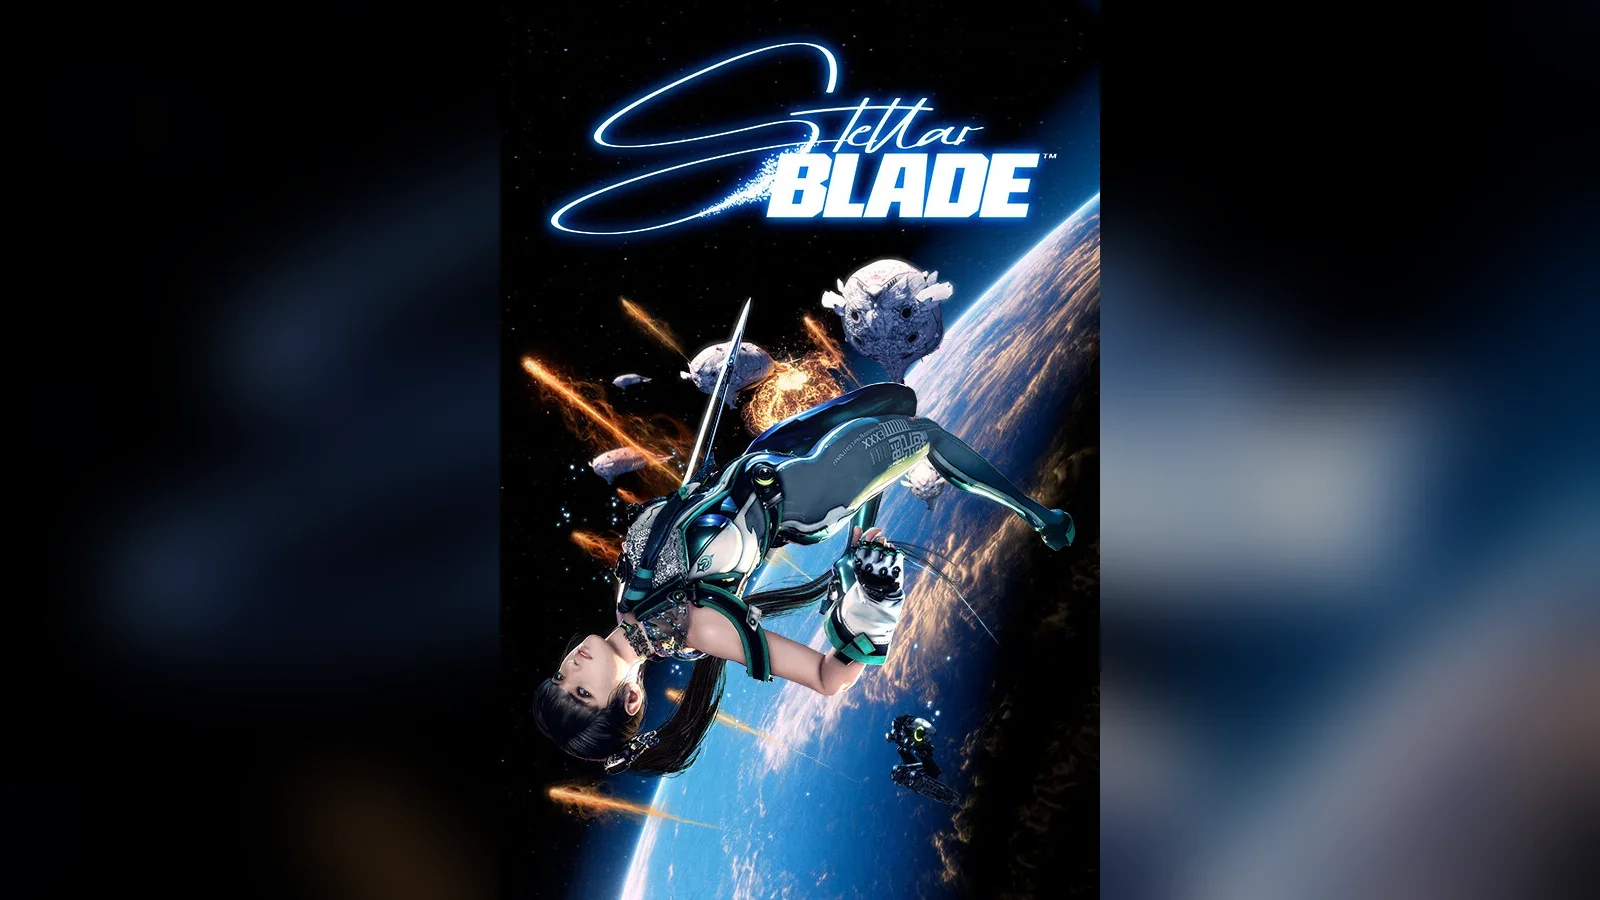
Step 2: Use Xion between missions
Shops, side quests and outfit upgrades are there.
- Check the bulletin board for requests.
- Buy Tumbler and Nano Suit upgrades.
How you know it worked: New side quests appear in your journal.
Step 3: Prepare before the final missions
The game warns you before a point of no return.
- Finish side quests you care about.
- Save in a separate slot before accepting.
- Look out for: Some side quests lock out after the warning.
How you know it worked: The final missions start after the prompt.
Stellar Blade follows EVE through 15 main missions across Eidos 7, Xion, the Wasteland, Matrix 11, the Great Desert and the final areas. This walkthrough lists them in order with the main area and the bosses you meet, so you can see where you are and what comes next. It works for PS5, PC and the Switch 2 Complete Edition arriving on 5 November 2026.
How this guide was made: compiled with AI assistance from published mission lists (Fextralife wiki and Game8), then edited by Tulasiram Pemmadi. We have not played through it ourselves; boss names follow those sources.
All main missions in order
# | Mission | Main area | Boss named in the sources |
|---|---|---|---|
1 | 7th Airborne Squad | Eidos 7 (landing) | Brute |
2 | Scavenger Adam | Eidos 7 | Abaddon, Corrupter, Alpha Naytiba Gigas |
3 | Xion, the Last Remaining City | Xion | — |
4 | Altess Levoire | Wasteland / Altess Levoire | Royal Guard Quiel, Maelstrom |
5 | Light of Hope | — | — |
6 | Alpha Signal | Matrix 11 | — |
7 | Hidden Truth | — | — |
8 | Abyss Levoire | Great Desert | — |
9 | Orcal's Testimony | — | — |
10 | Secret Garden | Eidos 9 | — |
11 | Eye of the Hurricane | Spire 4 | — |
12 | Burning Xion | Xion | — |
13 | Last Fragment | — | — |
14 | Selection of Species | — | — |
15 | EVE Protocol | — | Final boss |
A dash means our sources did not state it clearly enough to repeat; we fill those in only from cited sources. The mission order is the firm part.
The point of no return
Late in the story the game warns you before you enter the final areas. Finish side quests in Xion, the Wasteland and the Great Desert before you accept that prompt, because some side quests lock out and the endings depend on choices and side-quest progress.
Switch 2 Complete Edition notes
The Switch 2 version is the Complete Edition at $59.99 / £54.99 / €59.99, launching 5 November 2026 at 15:00 UTC (8:30 p.m. IST). It includes the DLC, so outfits and collaboration content appear from the start. The mission order is the same. There is no India eShop, so Indian players should look at PS5 (₹4,999 Standard) or Steam (₹4,799) prices on our game guide.
Objectives in the first big missions
Scavenger Adam is the longest early mission. Its objectives, as listed on the Fextralife wiki, are:
Go to the Hall of Records
Retrieve the Hyper Cell
Follow Adam's guidance
Recover the Crane ID Cards
Operate the crane to reach the Sewer Facility
Go to the Alpha Naytiba location
Defeat Alpha Naytiba Gigas
Retrieve the Alpha Core
Altess Levoire has three: go to the Wasteland, go to Altess Levoire, and retrieve the second Hyper Cell. Inside Altess Levoire you cannot use your sword or scan, so bring ammunition upgrades; the mission ends with the Maelstrom fight, which is about shooting weak spots while staying mobile.
Progress tracker
After mission | Missions done | Progress |
|---|---|---|
Scavenger Adam | 2 of 15 | 13% |
Altess Levoire | 4 of 15 | 27% |
Hidden Truth | 7 of 15 | 47% |
Orcal's Testimony | 9 of 15 | 60% |
Eye of the Hurricane | 11 of 15 | 73% |
EVE Protocol | 15 of 15 | 100% |
Prices by platform (checked 29 October 2026)
Platform | Edition | US | India |
|---|---|---|---|
Switch 2 | Complete | $59.99 (£54.99 / €59.99) | No India eShop |
PS5 | Standard | $69.99 | ₹4,999 |
PS5 | Complete | $89.99 | ₹6,899 |
PC (Steam) | Standard | $59.99 | ₹4,799 |
PC (Steam) | Complete | $79.99 | ₹6,399 |
Switch 2 launch time
Region | Unlock time, 5 November 2026 |
|---|---|
UTC | 15:00 |
US Pacific | 7:00 a.m. PST |
US Eastern | 10:00 a.m. EST |
UK | 3:00 p.m. GMT |
India | 8:30 p.m. IST |
Puzzles in Altess Levoire
Two puzzles in Altess Levoire stop many players, according to the Fextralife walkthrough:
Sector A07 platforms: platforms show PlayStation button symbols. Jump on them in the order Triangle, Circle, Cross, Square; a wrong platform or one without a symbol collapses.
Laser reflector room: one reflector is fixed. Move the others so the beam crosses the room, uses the reflector behind the glass on the left, and ends at the input device. Completing it gives a Fusion Cell for the locked door.
Collapsing floors: after pressing the green button, run and jump at the red broken tube, then dash; you can retry as often as needed.
Boss tips from the early missions
Royal Guard Quiel regenerates her shield. Keep distance and use ranged attacks to break it, then switch to melee.
Maelstrom has three weak spots, then a brief weak spot in its mouth. Keep moving, shoot the weak spots, and refill ammo from the exploding crawlers.
Alpha Naytiba Gigas ends Scavenger Adam; rest at the Supply Camp in the crater first.
These tips come from the Fextralife walkthrough cited below; we have not played the fights ourselves. Button names are PlayStation labels; on Switch 2 and PC, the game shows its own prompts.
Using Xion between missions
Xion is the hub you return to after most early missions. Its bulletin board and residents give side quests and requests, and its shops sell upgrades and materials. Side quests here are where many Body Cores, Beta Cores and outfits come from, which make later missions easier, so a short Xion loop after each main mission keeps EVE ready for the next boss without grinding. Collectibles such as cans and documents are also tracked per area, so the map shows what you have missed.
Endings
Stellar Blade has more than one ending. Which one you see depends on the choice you make near the end and on side-quest progress with key characters, so save in a separate slot before the final missions if you want to see the others without replaying the whole game.
Common Mistakes to Avoid
- Ignoring side quests before the end Endings and rewards can be missed.
- Not upgrading Beta skills Late bosses become much harder.
Frequently asked questions
How many main missions are in Stellar Blade?
15, from 7th Airborne Squad to EVE Protocol.
Is the Switch 2 mission order different?
No. The Complete Edition has the same story and adds the DLC.
Is there a point of no return?
Yes. The game warns you before the final missions; finish side quests first.
Where is the hub?
Xion, the last remaining city.
Sources & verification
Sources last verified on . This article covers published information, not hands-on testing.